
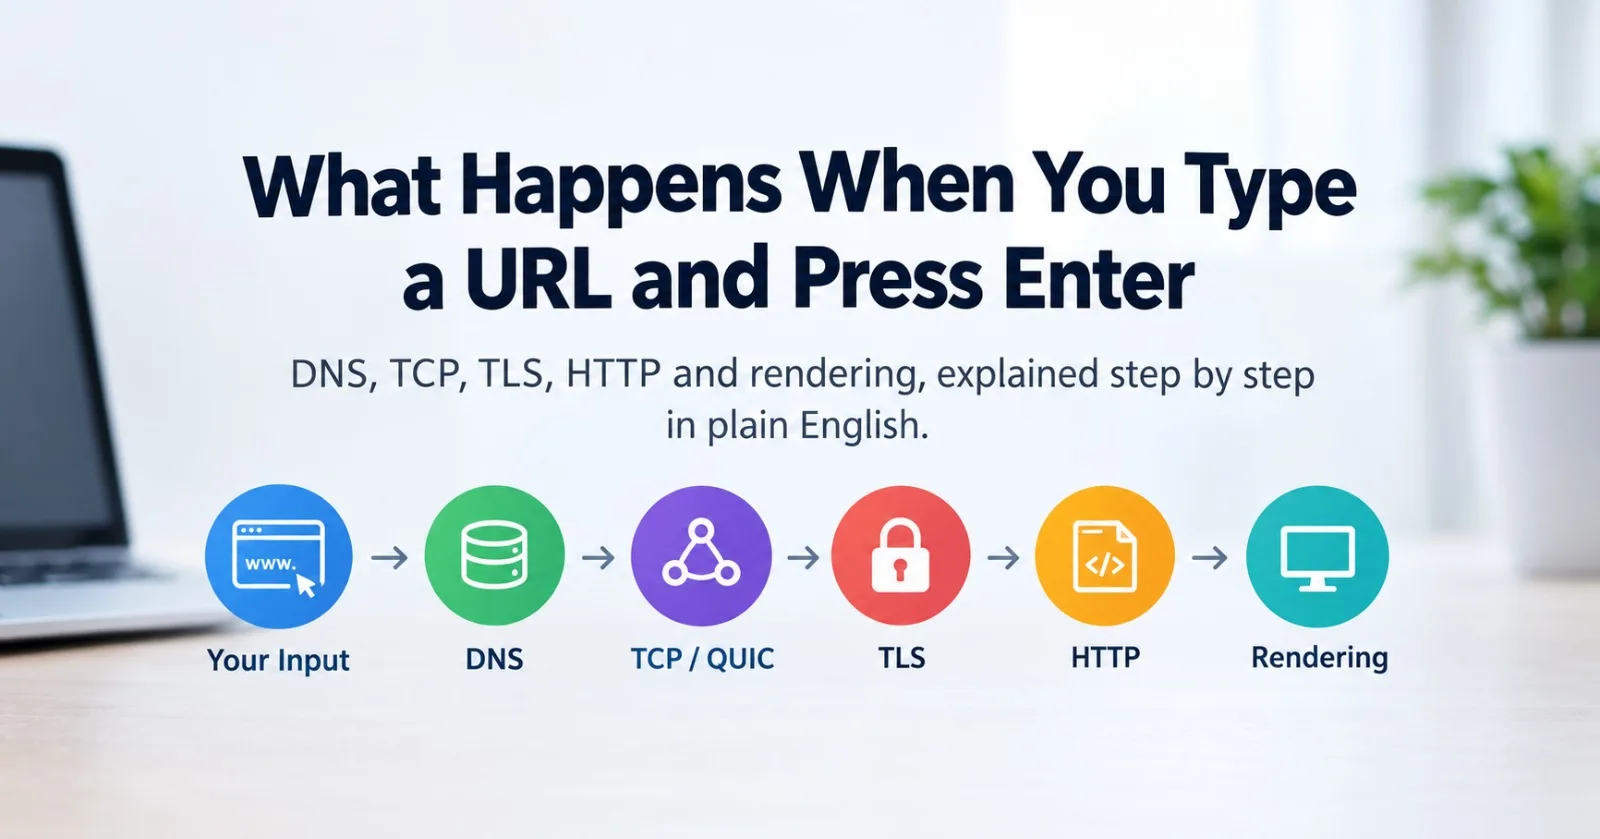
You type example.com, press Enter, and a web page appears in well under a second. It feels instant, but in that moment your computer, several servers around the world, and your browser's rendering engine cooperate in a carefully ordered sequence.
This post follows a single request from the keyboard to the screen. Along the way you'll see where each of the web's core technologies fits in and, just as useful, which step to blame when a page doesn't load.
The Short Version
The browser reads your input and decides whether it's a URL or a search.
It checks its caches in case it already has the page.
DNS turns the domain name into an IP address.
TCP (or QUIC) opens a connection to that address.
TLS encrypts the connection and verifies the server's identity.
The browser sends an HTTP request.
The server processes it and responds.
The browser renders the page, fetching more files as needed.
Let's walk through each step.
Step 1: The Browser Reads Your Input
First, the address bar (sometimes called the omnibox) works out what you meant. If the text looks like a web address, it's treated as a URL. Otherwise, it's sent to your default search engine.
If it is a URL, the browser breaks it into parts. Take this example:
https://www.example.com:443/blog/post?id=42#commentsScheme (
https): the protocol to use.Host (
www.example.com): which server to contact.Port (
443): which door on that server. It's usually left out because HTTPS defaults to 443 and HTTP to 80.Path (
/blog/post): which resource you want.Query (
?id=42): extra parameters for the server.Fragment (
#comments): a spot within the page. It stays in the browser and is never sent to the server.
If you typed only example.com, modern browsers generally try HTTPS first. Browsers also ship with a built-in list of sites that must always use HTTPS (the HSTS preload list) and silently upgrade http:// to https:// for those.
Step 2: Checking the Cache
Before touching the network, the browser asks a simple question: do I already have this? A previously downloaded copy may sit in the browser's HTTP cache, and sites that use a service worker can serve pages from their own local cache.
If a fresh copy exists (the server allowed caching through headers such as Cache-Control), the browser can show the page immediately with no network request at all. If not, the journey continues.
Step 3: DNS Finds the Server's Address
Computers connect using IP addresses, not names. DNS (the Domain Name System) works like the internet's phone book, translating www.example.com into an address such as 203.0.113.10.
The lookup checks several places in order and stops as soon as one has the answer:
Browser cache: Recent lookups are remembered briefly.
Operating system cache and hosts file: Your OS keeps its own cache, plus a local file of manual overrides.
Recursive resolver: If neither knows, your device asks a resolver, usually run by your internet provider or a public service such as Google or Cloudflare.
The resolver does the legwork. It asks a root server, which doesn't know the answer but points to the servers responsible for .com. It then asks a TLD server for .com, which points to the domain's own nameservers. Finally, it asks the domain's authoritative nameserver, which holds the real answer.
The resolver hands the IP address back to your browser and caches it for a period set by the record's TTL (time to live), so the next lookup is much faster. Many sites publish both IPv4 and IPv6 addresses, and browsers try whichever works best.
Step 4: Opening a Connection
Now the browser needs a reliable channel to the server. Traditionally that's TCP, which sets up a connection with a three-way handshake:
SYN: The browser says, "I'd like to connect."
SYN-ACK: The server replies, "Okay, I'm ready."
ACK: The browser confirms, and the connection is open.
This costs one round trip between your device and the server. HTTP/3 uses a newer protocol called QUIC, built on UDP, which combines connection setup and encryption into a single handshake and avoids some of TCP's delays. Browsers also reuse existing connections to the same server whenever they can.
Step 5: The TLS Handshake
For HTTPS, the browser and server must secure the connection before any page data is sent. They agree on encryption settings, the server proves its identity with a certificate, and both sides derive shared secret keys. From then on, everything is encrypted.
We cover this step in detail in our SSL, TLS, and HTTPS Explained post. With TLS 1.3 it adds just one more round trip. If anything is wrong, such as an expired certificate or a certificate for a different domain, the browser stops here and shows a warning instead of loading the page.
Step 6: The HTTP Request
Only now does the browser actually ask for the page. A simplified request looks like this:
GET /blog/post?id=42 HTTP/1.1
Host: www.example.com
Accept: text/html
Accept-Encoding: gzip, br
Accept-Language: en
Cookie: session=abc123
GET is the method, meaning "fetch this resource." Submitting a form typically uses POST instead.
Host tells the server which site you want, since many sites share one server.
Accept-Encoding lists the compression formats your browser understands.
Cookie carries any cookies the browser has stored for this site. This is how sites remember that you're logged in.
HTTP/2 and HTTP/3 send this in a compact binary form rather than plain text, but the meaning is the same.
Step 7: The Server Responds
The request may first reach a load balancer or a CDN (content delivery network) edge server, which can answer from its own cache or forward the request to the origin server. The web server then passes it to application code, which might query a database, fill in a template, and build the HTML.
The response comes back in a similar shape:
HTTP/1.1 200 OK
Content-Type: text/html; charset=utf-8
Content-Encoding: br
Cache-Control: max-age=3600

<!DOCTYPE html>
<html>...
The first line carries a three-digit status code:
200 means success.
301 or 302 means redirect. The browser follows the new address and repeats the journey from Step 1.
404 means the page wasn't found.
500 and its relatives (502, 503) mean something went wrong on the server.
The headers describe the content, and the body is the HTML itself.
Step 8: The Browser Renders the Page
Receiving the HTML is only half the job. The browser now turns text into pixels:
Parse the HTML into a tree of elements called the DOM. This starts while the file is still arriving, so the browser doesn't wait for the whole page.
Fetch more resources. The HTML points to stylesheets, scripts, images, and fonts, and each one is another request. Steps 3 to 7 repeat for any new domains, such as a font provider or analytics service, while HTTP/2 and HTTP/3 let many requests share one connection.
Build the style rules from the CSS. Stylesheets block rendering by default, so the browser doesn't flash an unstyled page.
Run JavaScript, which can change the page. Scripts without
asyncordeferpause HTML parsing until they finish.Layout, paint, and composite. The browser combines the DOM and styles, calculates the size and position of every element, draws the pixels, and layers them onto your screen.
Even then the page isn't necessarily done. Scripts may keep fetching data, and images further down the page may load only as you scroll.
When Something Goes Wrong: Match the Symptom to the Step
Knowing the sequence makes errors much easier to read:
Stage | Typical symptom | What it usually means |
|---|---|---|
DNS | "Server not found" or | The domain doesn't resolve: a typo, an expired domain, or a DNS misconfiguration |
TCP | "Connection refused" or "Connection timed out" | The server is down, unreachable, or a firewall is blocking the port |
TLS | Certificate warning, such as | The certificate is expired, issued for another domain, or untrusted |
HTTP | 404, 500, 502, 503 | The server was reached, but the page is missing or the application is failing |
Rendering | Blank or broken page | A problem in the page's HTML, CSS, or JavaScript (check the browser console) |
Why It Feels Fast (and How Sites Make It Faster)
On a first visit, a page needs roughly four trips across the network before the first byte of HTML arrives: DNS, TCP, TLS, and the HTTP request. Each trip is limited by physical distance and the speed of light, so shaving trips matters. Most performance techniques map directly to the steps above:
CDNs put servers closer to visitors, shortening every round trip.
Connection reuse lets repeat requests skip the DNS, TCP, and TLS steps.
TLS 1.3 and HTTP/3 cut the number of round trips needed to get started.
Caching headers let the browser skip the network entirely for files that rarely change.
Compression and optimized images make downloads smaller.
Preconnect hints let the browser do DNS, TCP, and TLS early for known third-party domains.
Key Takeaways
A URL is a structured address, and the browser first decides whether you typed one at all.
DNS converts the name to an IP address, TCP or QUIC opens the connection, and TLS secures it.
HTTP is the actual conversation: a request for a resource and a response with a status code and content.
The browser then renders the page, and that triggers many more requests.
Each stage fails in its own recognizable way, so errors tell you where to look.
Conclusion
Typing a URL kicks off a chain of small, well-defined steps that each solve one problem: finding the server, connecting to it, securing the connection, asking for the page, and drawing it on screen. All of it normally finishes in a fraction of a second.
The next time a page is slow or won't load, run through the steps in your head. Chances are you can narrow the problem down to a single stage before you open any developer tools.
Comments(0)
Join the discussion by logging into your account.
No comments yet. Be the first to comment!