
Every deploy at my last team started the same way: someone typed “deploying api to staging, ok?” in a channel, waited for a thumbs-up emoji, then went off to run it by hand. Nobody could say afterwards who had approved what, and twice two people deployed at the same time.
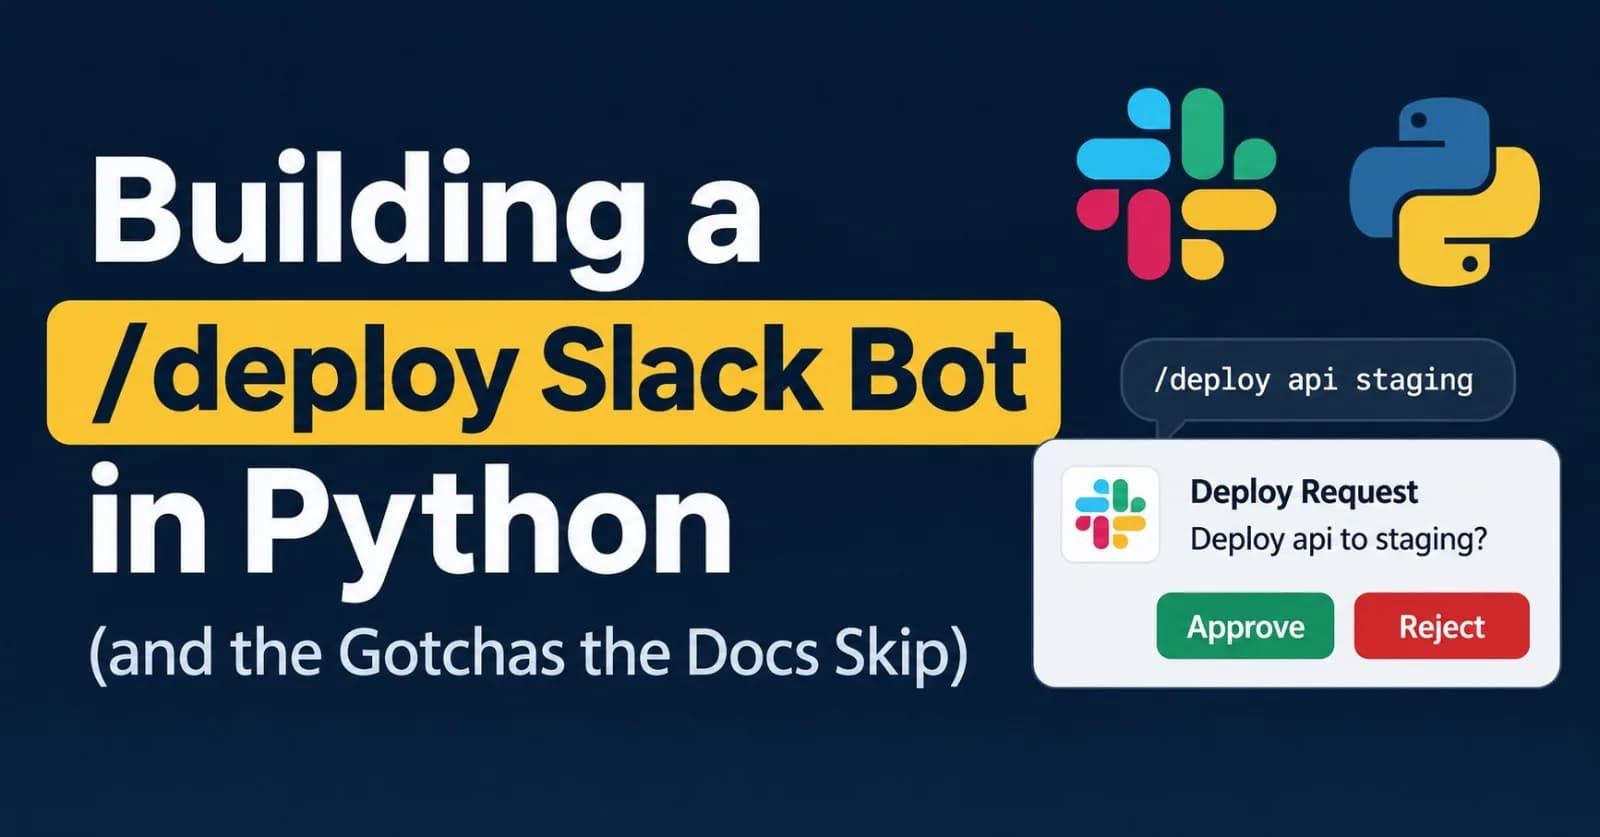
So I built a /deploy Slack command. You type /deploy api staging, the bot posts a request with Approve and Reject buttons, a teammate clicks one, and the message updates to show what happened and who signed off. The whole bot is roughly 140 lines of Python.
This post builds it step by step. It also covers the things the Slack docs don’t make obvious: the 3-second acknowledgement rule, an easy-to-miss setting that leaves your buttons doing nothing, and how to stop a double click from deploying twice.
What we’re building
The flow looks like this:
Someone runs
/deploy <service> <env>.The bot posts a message in the channel with Approve and Reject buttons.
A teammate clicks a button. Nobody can approve their own request.
The message is replaced with the outcome, so the buttons disappear.
We’ll use Bolt, Slack’s official framework for Python, together with Socket Mode, so you can run everything from your laptop without a public URL. The deploy itself is a stand-in function; swap in your own CI trigger or script.
Prerequisites
Python 3.9 or newer
A Slack workspace where you’re allowed to install apps (a free personal workspace is fine for testing)
Basic Python; no prior Slack experience needed
Step 1: Create the Slack app
Go to api.slack.com/apps and choose Create New App → From scratch. Then work through these settings:
Socket Mode: Turn it on and generate an app-level token with the
connections:writescope. This is yourxapp-token.Slash Commands: Create a command called
/deploy. With Socket Mode on, you don’t need a request URL.Interactivity & Shortcuts: Turn it on. This is the one people miss. If you skip it, the buttons render fine but clicking them does nothing, and there’s no helpful error.
OAuth & Permissions: Add the
commandsbot scope, install the app to your workspace, and copy the Bot User OAuth Token. This is yourxoxb-token.
Slack renames and moves settings from time to time, so if a label doesn’t match, check the current docs for the same setting.
You now have two tokens, and mixing them up is a classic first-run error:
Token | Starts with | What it’s for |
|---|---|---|
Bot token |
| Calling Slack’s Web API as your bot |
App-level token |
| Opening the Socket Mode connection |
Step 2: Set up the project
mkdir deploy-bot && cd deploy-bot
python -m venv .venv && source .venv/bin/activate
pip install slack-bolt

export SLACK_BOT_TOKEN=xoxb-your-token
export SLACK_APP_TOKEN=xapp-your-token
Keep tokens out of your repo. For anything beyond a demo, load them from a secrets manager or your platform’s environment settings.
Step 3: The slash command and the 3-second rule
Create bot.py, starting with the imports and the app:
import json
import os
import re
import time

from slack_bolt import App
from slack_bolt.adapter.socket_mode import SocketModeHandler

app = App(token=os.environ["SLACK_BOT_TOKEN"])

# Input rules: adjust to match your own services and environments
SERVICE_RE = re.compile(r"[a-z0-9][a-z0-9-]{0,40}")  # e.g. api, billing-worker
ALLOWED_ENVS = {"staging", "production"}
Now the command handler:
@app.command("/deploy")
def handle_deploy(ack, command, respond):
    ack()  # Slack expects an acknowledgement within 3 seconds, so do this first

    parts = command["text"].split()
    if len(parts) != 2:
        respond("Usage: `/deploy <service> <env>`, e.g. `/deploy api staging`")
        return

    service, env = parts
    if not SERVICE_RE.fullmatch(service) or env not in ALLOWED_ENVS:
        respond(
            "Invalid service or environment. Services use lowercase letters, "
            "digits and dashes; environment must be one of: "
            + ", ".join(sorted(ALLOWED_ENVS))
        )
        return

    requester = command["user_id"]
    respond(
        text=f"Deploy request: {service} -> {env}",  # fallback for notifications
        blocks=request_blocks(service, env, requester),
        response_type="in_channel",
    )
The most important line is ack(). Slack gives you about three seconds to acknowledge a slash command, a button click, or any other interaction. If you miss that window, the user sees an error like “operation_timeout”, even if your code runs perfectly a moment later. So the rule is simple: acknowledge first, then do the real work.
respond() posts through the command’s response URL, and response_type="in_channel" makes the message visible to everyone in the channel instead of just the person who typed the command. Because we post through the response URL, this demo doesn’t need the chat:write scope.
The text argument is easy to skip, but don’t. It’s the plain-text fallback used in notifications and by screen readers when you send blocks.
Notice the check before anything is posted. Whatever someone types after /deploy lands in a message others read and, later, in your deploy script, so I validate it at the door: a strict pattern for the service name and an allowlist for environments. Anything else is rejected, which is easier to get right than cleaning up bad input. Adjust ALLOWED_ENVS and the pattern to fit your setup.
Step 4: Build the buttons with Block Kit
Slack messages with rich layouts are described as “blocks”, which are plain Python dicts. Add these two helpers above the command handler:
def request_blocks(service: str, env: str, requester: str) -> list[dict]:
    """The message with Approve / Reject buttons."""
    value = json.dumps({"service": service, "env": env, "requester": requester})
    return [
        {
            "type": "section",
            "text": {
                "type": "mrkdwn",
                "text": f"*Deploy request*\n<@{requester}> wants to deploy `{service}` to `{env}`",
            },
        },
        {
            "type": "actions",
            "elements": [
                {
                    "type": "button",
                    "text": {"type": "plain_text", "text": "Approve"},
                    "style": "primary",
                    "action_id": "deploy_approve",
                    "value": value,
                },
                {
                    "type": "button",
                    "text": {"type": "plain_text", "text": "Reject"},
                    "style": "danger",
                    "action_id": "deploy_reject",
                    "value": value,
                },
            ],
        },
    ]


def status_blocks(text: str) -> list[dict]:
    """A buttons-free message, so the same request can't be clicked twice."""
    return [{"type": "section", "text": {"type": "mrkdwn", "text": text}}]
A few things are worth noticing:
action_idis how Slack routes a click to the right handler. We’ll usedeploy_approveanddeploy_rejectin a moment.valueis a string attached to the button and sent back to you on click. Packing the request details into JSON means this demo needs no database. Button values have a size limit (currently 2,000 characters), so store IDs rather than big payloads in real apps.<@{requester}>is Slack’s syntax for mentioning a user by ID, which renders as their name.status_blocksproduces a message with no buttons. We’ll use it to replace the original, which is the double-click protection.
Step 5: Handle the clicks
First, a stand-in for the real deployment:
def run_deploy(service: str, env: str) -> bool:
    """Stand-in for the real work (CI trigger, kubectl, etc.)."""
    time.sleep(3)
    return True
Then the approve handler:
@app.action("deploy_approve")
def handle_approve(ack, body, action, respond):
    ack()
    data = json.loads(action["value"])
    approver = body["user"]["id"]

    if approver == data["requester"]:
        respond(
            text="You can't approve your own deploy.",
            response_type="ephemeral",
            replace_original=False,
        )
        return

    # Replace the message right away: buttons disappear, so no double clicks
    respond(
        text="Deploying...",
        blocks=status_blocks(
            f":hourglass_flowing_sand: <@{approver}> approved. "
            f"Deploying `{data['service']}` to `{data['env']}`..."
        ),
        replace_original=True,
    )

    ok = run_deploy(data["service"], data["env"])

    result = ":white_check_mark: Deployed" if ok else ":x: Deploy failed"
    respond(
        text=result,
        blocks=status_blocks(
            f"{result}: `{data['service']}` to `{data['env']}` "
            f"(requested by <@{data['requester']}>, approved by <@{approver}>)"
        ),
        replace_original=True,
    )
Three details do the real work here:
ack()comes first, again. Button clicks follow the same 3-second rule as slash commands.The self-approval check. Slack tells us who clicked (
body["user"]["id"]), and we compare that with the requester stored in the button value. The warning isephemeral, meaning only the person who clicked sees it, andreplace_original=Falseleaves the request message untouched.Replace the message before the slow work. The moment the approval is accepted, we swap the buttons for a “Deploying…” status. Anyone who clicks late finds no button to press. Once the deploy finishes, we replace the message again with the result.
The reject handler is shorter:
@app.action("deploy_reject")
def handle_reject(ack, body, action, respond):
    ack()
    data = json.loads(action["value"])
    rejecter = body["user"]["id"]
    respond(
        text="Deploy rejected",
        blocks=status_blocks(
            f":no_entry: <@{rejecter}> rejected the deploy of "
            f"`{data['service']}` to `{data['env']}`."
        ),
        replace_original=True,
    )
Finally, start the app at the bottom of the file:
if __name__ == "__main__":
    SocketModeHandler(app, os.environ["SLACK_APP_TOKEN"]).start()
Step 6: Run it
python bot.pyThen try the flow in Slack:
Type
/deploy api stagingin a channel.Try clicking Approve on your own request. You should get a private “you can’t approve your own deploy” message.
Ask a teammate, or use a second test account, to click Approve. The message should change to “Deploying…” and then to “Deployed”.
Run the command again and click Reject to check the other path.
Try some bad input, like
/deploy API prod(uppercase service, environment not on the list). You should get a private error message and no request in the channel.
If the slash command works but the buttons do nothing, go back and check that Interactivity & Shortcuts is on.
Gotchas worth knowing about
The Interactivity toggle. Covered above, but it’s the number one reason a button bot “doesn’t work”. The buttons appear, the clicks vanish, and nothing logs an error.
Two different tokens. The
xoxb-bot token and thexapp-app-level token do different jobs. If startup fails with an authentication error, check you haven’t swapped them.Acknowledging is not the same as finishing.
ack()only tells Slack “I got it”. Your real work can continue afterwards, and you report the result withrespond()or by posting a new message.Retries over HTTP. If you later receive events over HTTP instead of Socket Mode, Slack retries deliveries it thinks you missed. Look for the
X-Slack-Retry-Numheader, and make handlers idempotent so a retry can’t trigger a second deploy.Signature verification. With HTTP endpoints, Bolt verifies Slack’s request signatures using your signing secret. With Socket Mode, the connection is authenticated by the app-level token, so you don’t verify requests yourself. If you ever write your own HTTP endpoint without Bolt, verifying signatures is not optional.
Anyone who can see the message can click it. A button doesn’t know who is “allowed” to approve. Checking that is your job. We’ll add an approver list below.
Socket Mode or HTTP?
Socket Mode keeps an outbound WebSocket connection open to Slack, so there’s no public URL, no tunnel, and no certificate to manage. That makes it ideal for development and internal tools like this one.
HTTP mode needs a public HTTPS endpoint, but it’s stateless, which makes it easier to scale across several instances behind a load balancer. Slack’s documentation also notes that apps listed in the Slack Marketplace must use HTTP rather than Socket Mode, so check their current guidance if you plan to distribute your app.
Because Bolt hides most of the difference, switching later usually means changing how the app starts, not rewriting your handlers.
What I’d change before using this for real
This version is good for a demo, and not yet safe for production. Here’s what I’d add, roughly in priority order.
1. Restrict who can approve. Right now any teammate who can see the message can approve. A simple allowlist is a good first step:
APPROVERS = set(os.environ.get("DEPLOY_APPROVERS", "").split(","))

# inside handle_approve, after ack():
if approver not in APPROVERS:
    respond(
        text="You are not allowed to approve deploys.",
        response_type="ephemeral",
        replace_original=False,
    )
    return
2. Make double-approval impossible, not just unlikely. Replacing the message removes the buttons, but two clicks that land at nearly the same instant could both get past the self-approval check before the first replacement happens. The robust fix is to store each request with an ID and a status in a database or Redis, and flip it from pending to approved with an atomic compare-and-set. Only the click that wins the update gets to deploy.
3. Run the deployment outside the handler, and treat input as untrusted. A time.sleep is harmless in a demo, but real deploys can take minutes. Hand the job to a worker or queue, and have it report back to the channel when it finishes. When you replace run_deploy, keep the discipline from Step 3: pass arguments as a list (subprocess.run([...])) and never build a shell string from what someone typed.
4. Keep an audit trail. Log who requested, who approved, what was deployed, and when. This was the original problem, so it’s worth doing properly.
5. Add per-environment locks and expiry. Don’t let two deploys to the same environment run at once, and expire requests nobody acted on so an old approval can’t be clicked days later.
6. Keep it running. The Slack SDK handles reconnecting if the connection drops, but you still need something to restart the process if it crashes: a systemd service, a container with a restart policy, or your platform’s equivalent.
7. Test the handlers. Bolt handlers are plain functions. You can unit-test them by passing in fake ack, respond, body, and action objects, with no Slack connection needed.
Wrapping up
The whole bot is a slash command, two buttons, and a handful of habits that matter more than the code itself: acknowledge fast, remove the buttons once a decision is made, check who is clicking, and treat the deploy as separate work from the reply.
The complete source is on GitHub: [link to your repo]. If you build on it, I’d like to hear what you add, especially if you solve the concurrency problem more cleanly than the sketch above.
Comments(0)
Join the discussion by logging into your account.
No comments yet. Be the first to comment!