
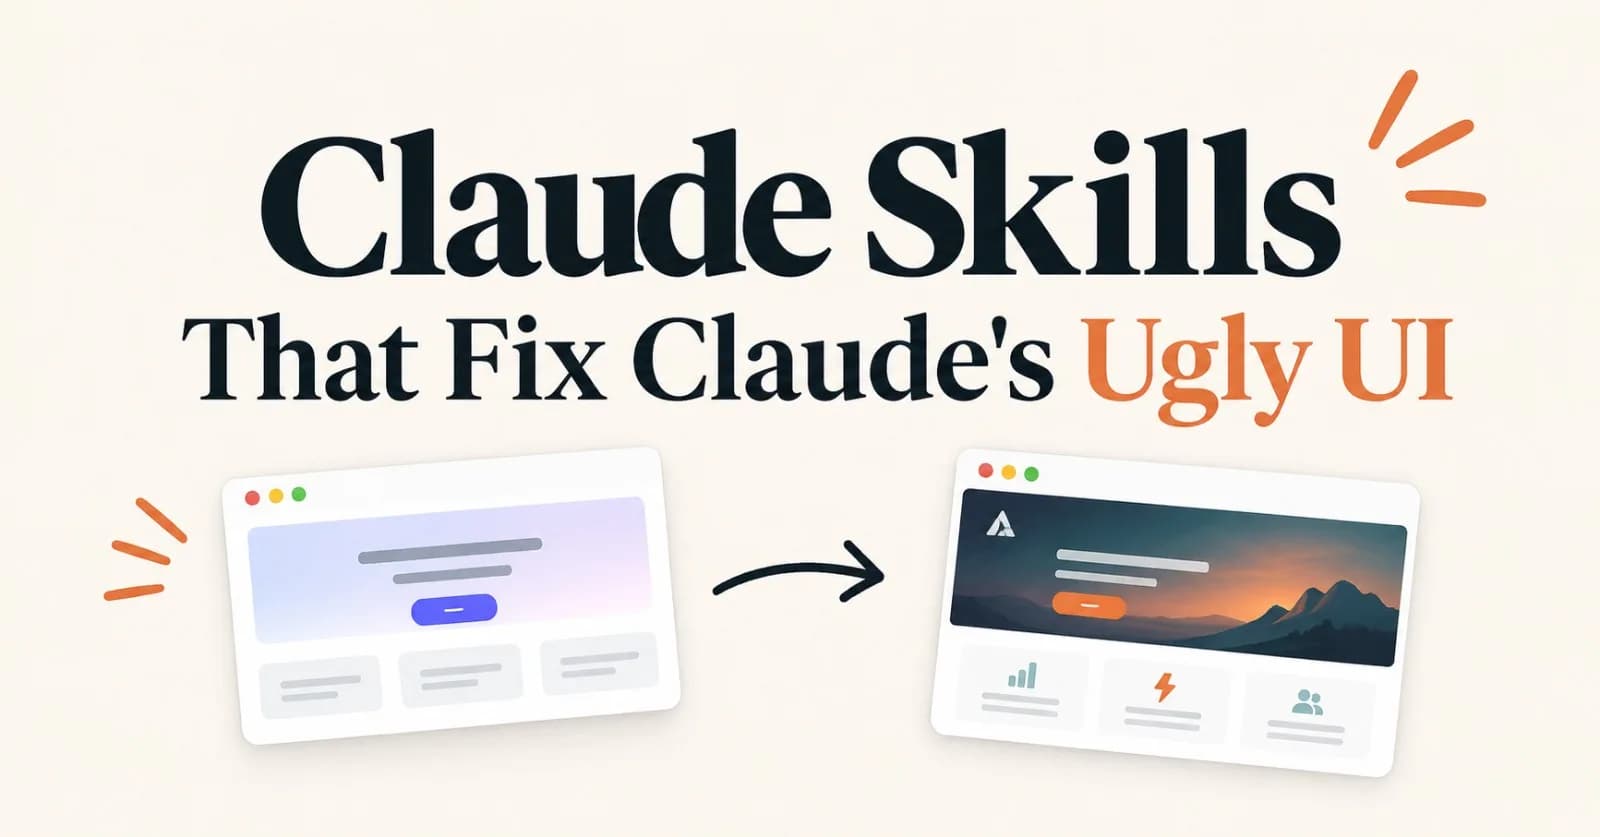
Ask Claude to build a landing page and there's a good chance you'll get the same familiar design: a centered hero, purple gradient, three rounded cards, and a big "Get Started" button.
It works, but it doesn't exactly look designed.
You can keep telling Claude to change the font, try another color palette, or make the layout more interesting. But repeating those instructions in every conversation gets old.
There's a better way. Anthropic has an official frontend-design Skill that gives Claude more specific design instructions. You can also create your own Skills to make it follow your preferred fonts, colors, layouts, and component styles.
This walkthrough focuses on Claude Code. Let's install the Skill, build a custom design system, and make Claude review its own work.
1. Install the frontend-design Skill
Start with Anthropic's official frontend-design plugin. You don't need to write anything yourself.
Open your project directory and start Claude Code:
claudeThen run this command inside Claude Code:
/plugin install frontend-design@claude-plugins-officialClaude Code will open the plugin details. Review the information and choose where you want to install it:
User: available across your projects.
Project: available to everyone working on the repository.
Local: available only to you in that project.
That's the installation part done.
If Claude Code says the marketplace can't be found, add it manually:
/plugin marketplace add anthropics/claude-plugins-officialThen run the install command again.
Try the Skill
Once installed, type:
/frontend-design:frontend-designYou can also let Claude select it automatically when you ask it to build or improve a frontend interface.
The Skill gives Claude guidance about typography, color, layout, copy, and visual direction. It also asks Claude to plan the design, review that plan, build the interface, and critique the result.
You can read its actual instructions in the official frontend-design SKILL.md.
Alternative: Install it using the Skills CLI
You can also install the standalone Skill through Vercel's Skills CLI.
This method requires Node.js 22.20 or later.
From your project directory, run:
npx skills add anthropics/skills --skill frontend-design -a claude-codeThis installs the standalone Skill from Anthropic's Skills repository for Claude Code rather than the complete marketplace plugin.
Both methods work. Choose one; you don't need to install both.
2. Give Claude a better prompt
Installing the Skill is only half the job. Your prompt still matters.
Instead of asking:
Build me a modern SaaS landing page.Give Claude an actual product brief.
For this example, let's build a landing page for a fictional API monitoring platform called Monitorly.
Copy this prompt:
Build a responsive landing page for Monitorly, an API
monitoring platform for small engineering teams.

The product helps developers monitor API uptime,
track response times, and investigate incidents.

Visual direction:
- Light technical interface.
- Cool grey canvas with clean white surfaces.
- Deep teal for primary actions and navigation.
- Muted amber for warnings and alerts.
- Clear, compact sans-serif typography.
- Strong information hierarchy.
- A distinctive hero composition based on the product.

Include:
- A hero introducing the product.
- A realistic API monitoring dashboard preview.
- Three product features.
- An uptime and response-time section.
- Pricing information.
- A final call to action.

Technical requirements:
- React and CSS.
- Responsive layout.
- Reusable components.
- Accessible buttons and navigation.

Avoid:
- Generic purple gradients.
- Identical cards for every section.
- Unnecessary glass effects.
- Decorative animations that add no value.

Use realistic placeholder data and identify it as sample data.

Before coding, briefly explain your design direction.
Then build the page.
The important difference is that Claude now knows what the product does and who will use it.
The frontend-design Skill helps it make more deliberate design choices instead of reaching for the same familiar layout.
3. Create your own design Skill
The official Skill is useful, but it doesn't know your brand.
Maybe you always use particular fonts, have a fixed color palette, or want every dashboard to follow the same spacing and component rules.
You can save those preferences in a custom Skill.
Inside your project, create this folder:
your-project/
└── .claude/
    └── skills/
        └── my-brand-ui/
            └── SKILL.md
Open SKILL.md and add:
---
name: my-brand-ui
description: Apply my preferred design system when building
  landing pages, dashboards, components, and frontend interfaces.
---

# My Brand UI

## Typography
- Headings: IBM Plex Sans, weight 600.
- Body: IBM Plex Sans, 16px.
- Maintain a clear hierarchy.
- Load the required fonts explicitly.

## Colors
Define these CSS variables on :root:

- --canvas: #E9EFF1
- --surface: #FBFCFC
- --ink: #20343B
- --primary: #0F6B70
- --secondary: #54747A
- --warning: #D99A3B

Use the warning color for alerts, not ordinary decoration.

## Layout
- Follow an 8px spacing scale.
- Prioritize content hierarchy.
- Avoid unnecessary cards.
- Use consistent spacing between sections.
- Keep mobile layouts simple and readable.

## Components
- Reuse existing project components where possible.
- Keep buttons consistent.
- Include hover and keyboard focus states.
- Make forms accessible.
- Avoid unnecessary animations.

## Before finishing
- Check typography and color consistency.
- Check text contrast.
- Test the layout at 375px width.
- Verify that interactive elements work.
- Remove decorative elements that don't serve the design.
The colors and fonts are just an example. Replace them with your actual brand guidelines.
Now Claude has a reusable reference for your preferred design system.
You can invoke it directly:
/my-brand-uiYou can also ask Claude to use it when building a new page:
Build the Monitorly dashboard using my-brand-ui.
Follow the existing project components and design tokens.
A useful tip: Keep project-specific Skills inside .claude/skills/. If you want the same Skill available across all your projects on your machine, use ~/.claude/skills/ instead.
If you're working with a team, commit the project Skill to your repository so everyone can use the same design instructions.
4. Make Claude review the UI
There's another problem with AI-generated interfaces: they can look good in the first draft but still have plenty of small issues.
You might notice inconsistent spacing, awkward mobile layouts, missing focus states, or buttons that don't work as expected.
Let's create a second Skill to check those things.
Create:
.claude/
└── skills/
    └── ui-review/
        └── SKILL.md
Add this:
---
name: ui-review
description: Review and improve existing frontend interfaces.
  Use after building or modifying a page or component.
---

# UI Review

Review the current frontend implementation.

1. Check typography and font consistency.
2. Check colors against the design system.
3. Find inconsistent spacing.
4. Check text and background contrast.
5. Verify button hover and focus states.
6. Check navigation and interactive elements.
7. Look for horizontal overflow on mobile.
8. Check layouts at 375px, 768px, and 1280px.
9. Remove unnecessary animations and decoration.
10. Fix the most important issues first.

If browser or screenshot tools are available,
inspect the actual rendered page.

Do not claim something has been tested if it hasn't.

At the end, summarize:
- Problems found.
- Changes made.
- Issues that still need attention.
After Claude finishes building the page, run:
/ui-reviewOr give it a more specific instruction:
Review the current Monitorly page.

Fix visual inconsistencies, responsive issues,
and missing interaction states.

Keep the existing design direction.
Don't redesign everything unnecessarily.

Run the available checks and tell me
about anything you couldn't verify.
This gives you a simple workflow: build the interface, review it, and fix the problems before moving on.
5. Test the difference yourself
Want to see whether the Skill actually changes the result?
Run a simple before-and-after test.
Test A: Without frontend-design
Before installing the Skill, start a fresh Claude Code session.
Use the same project setup and submit this prompt:
Build a landing page for an API monitoring product.

Use React and CSS. Include a hero, features,
product preview, and pricing section.
Save a screenshot of the result.
Test B: With frontend-design
Now install the Skill, start another fresh session, and submit exactly the same prompt.
Save another screenshot.
Compare the two pages.
Pay attention to:
Typography and font choices.
Hero composition.
Color combinations.
Layout and spacing.
How product information is presented.
Whether the mobile version is usable.
For a fair comparison, use two clean copies of the same starter project. Keep the model, prompt, framework, and available assets the same.
Run the comparison more than once if you want a reliable result. AI output can vary between generations, so one good screenshot doesn't prove the Skill will always produce a better design.
If you're publishing your own results, include the actual screenshots from these tests. Don't use illustrative mockups as evidence of a real Claude run.
6. Find more design Skills
Once you've tried the official Skill and created your own, you can explore other options.
Here are a few useful places:
Anthropic's Skills repository — official examples and reusable instructions.
Anthropic's Claude Code plugins — official plugins, including frontend-design.
Skills.sh — discover community-created Skills and install them with the CLI.
Agent Skills — documentation for the open Skill format.
One thing worth remembering: don't install every Skill you find.
Read its SKILL.md, inspect bundled scripts, and check the repository before using it. Plugins can also include hooks and MCP servers, so review what a plugin adds before enabling it.
Start with one or two and see whether they actually improve your workflow.
My recommended setup
You don't need ten different Skills to improve Claude's frontend output.
I'd start with these three:
Skill | What it does |
|---|---|
| Helps establish a distinctive visual direction |
| Keeps your fonts, colors, and layouts consistent |
| Reviews the finished interface for common issues |
Use frontend-design when starting a new interface, my-brand-ui whenever you're working on your product, and ui-review before considering the page finished.
That's a much better starting point than repeatedly telling Claude to stop using purple gradients.
Final thoughts
The biggest improvement isn't necessarily installing more Skills. It's giving Claude better instructions about what you're building and what the finished interface should look like.
Start with Anthropic's frontend-design, add your own brand rules, and give the finished page a proper review.
You can set this up without building a complicated design system or maintaining a huge prompt.
And the next time Claude starts creating another generic SaaS landing page, you'll have a better way to steer it.
Comments(0)
Join the discussion by logging into your account.
No comments yet. Be the first to comment!