
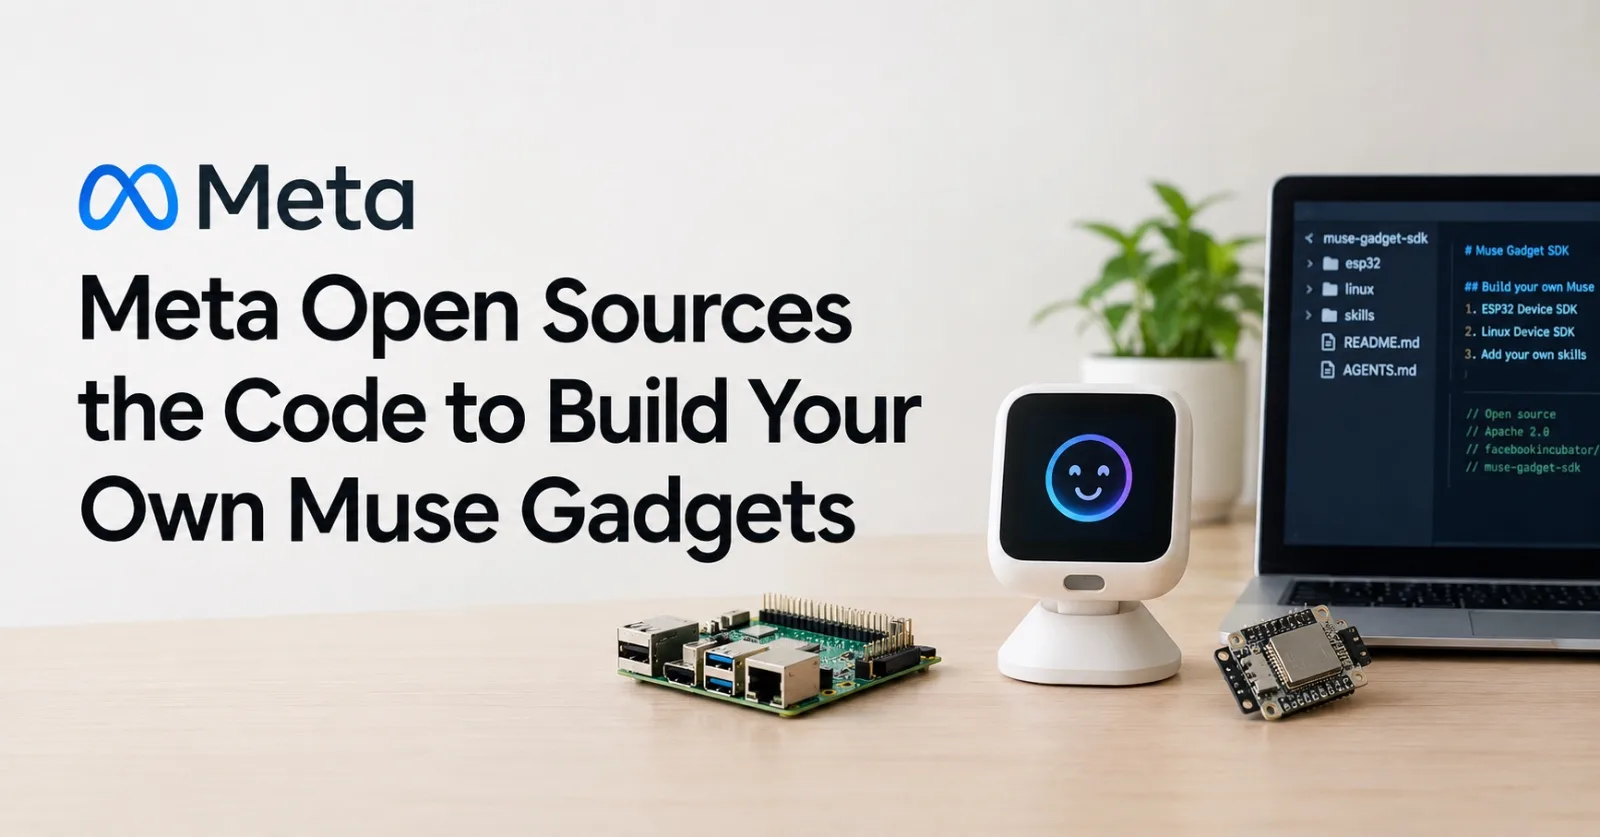
Meta has released the code you need to build your own hardware for Muse, its personal AI agent. You can run it on a Raspberry Pi or an ESP32 board and connect the displays, buttons and sensors you already have.
Nat Friedman, head of product at Meta Superintelligence Labs, announced the project as Muse Gadgets. Meta also showed a device of its own, the Muse Home Link, and is giving away a first batch.
What Meta released
The code is in a public GitHub repo called facebookincubator/muse-gadget-sdk. It's licensed under Apache 2.0 and provided as-is, without warranty.
A few third-party files keep their own licenses. The Jollybot avatar isn't covered by Apache at all.
The repo has three folders: esp32, linux and skills. Each has a README to get you started, plus an AGENTS.md file written for coding agents like Muse Code.
Two ways to build
ESP32 Device SDK: open source firmware you flash onto an ESP32-compatible board to connect Muse to your home Wi-Fi. You can add a screen that shows images, audio in and out, or other sensors.
Linux Device SDK: turns a spare Raspberry Pi or Linux box into a Muse gadget. You can add your own commands so Muse handles sysadmin chores or your Home Assistant setup.
What you need depends on the route:
ESP32: the README says the quickest start is the ESP32-C5 DevKitC-1, which has a built-in status light and a BOOT button. You also need a computer running macOS or Linux. Meta's README says the fastest way to build is to let Muse Code do it.
Linux: a Raspberry Pi with Bluetooth (3B+, 4, 5 or Zero 2 W). Other Linux computers work if they have Bluetooth LE. The README lists Raspberry Pi OS Bullseye or later, Debian 11 or later, or Ubuntu 22.04 or later, plus an account with sudo.
Getting started
Get an SDK token from the Muse Gadgets site. Every gadget needs one to pair.
Read the Gadget SDK Terms before you flash or pair anything.
Flash your board or set up your Pi using the README in the
esp32orlinuxfolder.In the Muse app on iOS or Android, open Settings > Devices and turn on Developer mode.
Look for a device with the "MuseGadget" prefix and pair it.
Project ideas from Meta
Meta's page lists starter builds, most with buy and source links:
Raspberry Pi 5: works with Home Assistant and other Linux apps.
Seeed reTerminal E1002: a color e-ink display for a morning briefing, reminders or a shopping list.
Waveshare ESP32-S3-Touch-AMOLED-1.75C: a round 1.75-inch touchscreen with push-to-talk, speaker, mic and battery.
M5Stack StickS3: pocket-size, with a color screen for Muse's status and a front button.
AiPi Lite: a small desk buddy. Press a button to talk, and it answers out loud and shows pictures.
ideaspark ESP32 with a 1.9-inch display: a status screen that can also draw pictures.
Home Assistant Voice Preview Edition: push-to-talk, with Muse's status on an LED ring.
HDMI stick: lets you ask Muse to put things on your TV. Marked "coming soon."
Meta says the third-party devices are made and sold by other companies, and it doesn't endorse or warrant them.
Muse Home Link
The Home Link is the one gadget Meta built itself. It connects Muse to your home Wi-Fi so it can reach compatible devices you own, or anything you build with a local HTTP API.
Community-built skills can let Muse turn on a light, control a TV or send a document to a printer, depending on your setup.
It's free with an active Muse subscription, in the US only, limited to one per subscriber. Units ship in October, first come, first served. Claiming holds your place in line but isn't an order.
Friedman said Meta made 5,000 units and that the Home Link code is open source too.
Before you build
Meta keeps the tone light. It jokes that tinkering can cause "bricked boards, voided warranties, brownouts, or bankruptcies," and tells builders to proceed at their own risk.
Some of that risk is practical. Every gadget needs your SDK token to pair, so keep it private.
The Linux SDK deserves extra care. Meta's README says that once the machine is paired, Muse can run commands and move files on it. The installer asks before it gives Muse your account and tells you if that account can use sudo. The README also suggests reading install.sh before you run it.
Community skills are another thing to check. Meta says they can let Muse control lights, TVs and printers, so look at what a skill does before you install it.
Where this goes
With the SDKs, Muse can also live on a desk, behind a TV or on an e-ink screen in your kitchen.
Meta has shown its own dedicated device too, a tamagotchi-like gadget called the Muse Charm. Muse Gadgets is the build-it-yourself route.
Meta has set up a community Discord. You can share finished projects in the #projects channel, and Meta may feature them on the Muse Gadgets page.
Sources: Muse Gadgets and muse-gadget-sdk on GitHub
Comments (0)
Join the discussion by logging into your account.
No comments yet. Be the first to comment!